> For the complete documentation index, see [llms.txt](https://docs.launchifi.xyz/llms.txt). Markdown versions of documentation pages are available by appending `.md` to page URLs; this page is available as [Markdown](https://docs.launchifi.xyz/how-to/connect.md).
# Connect
To deploy any contracts you will be required to connect with your wallet.
Here are the following steps:
You can go to the bottom of the website.
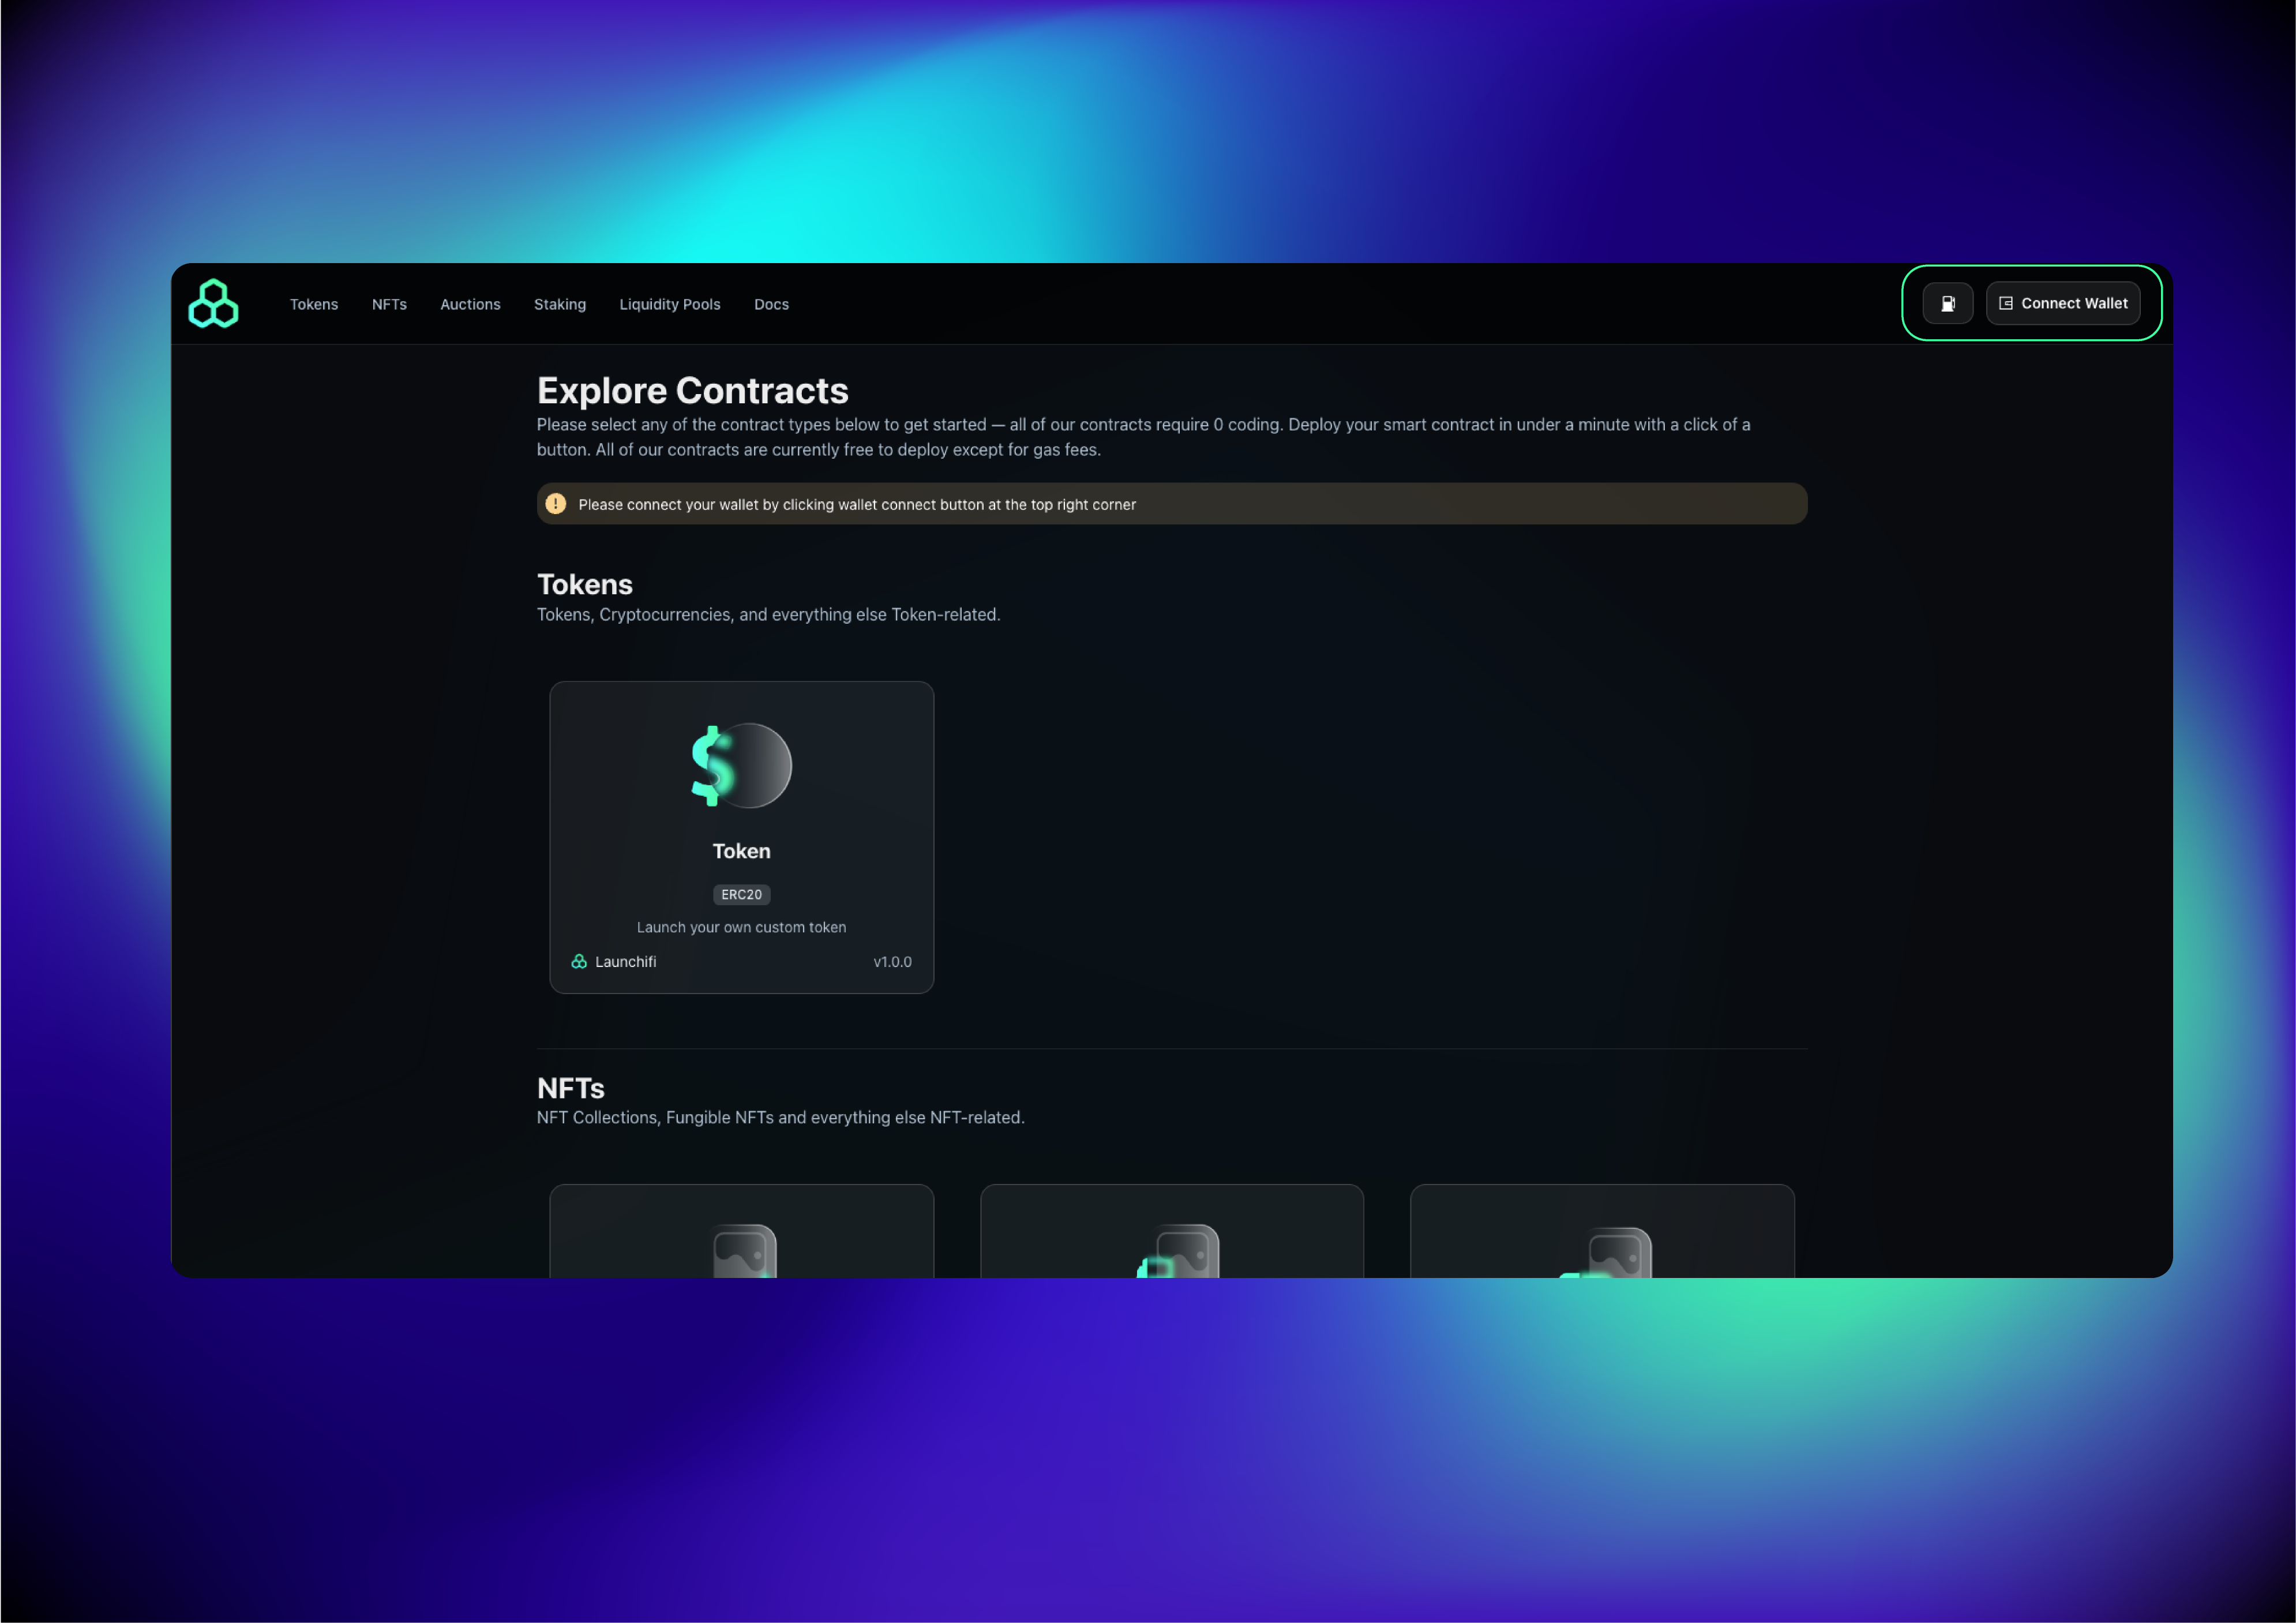
## 1. Click on Connect Wallet button
Located in the bottom left hand corner of the application you will see a button to connect your wallet.
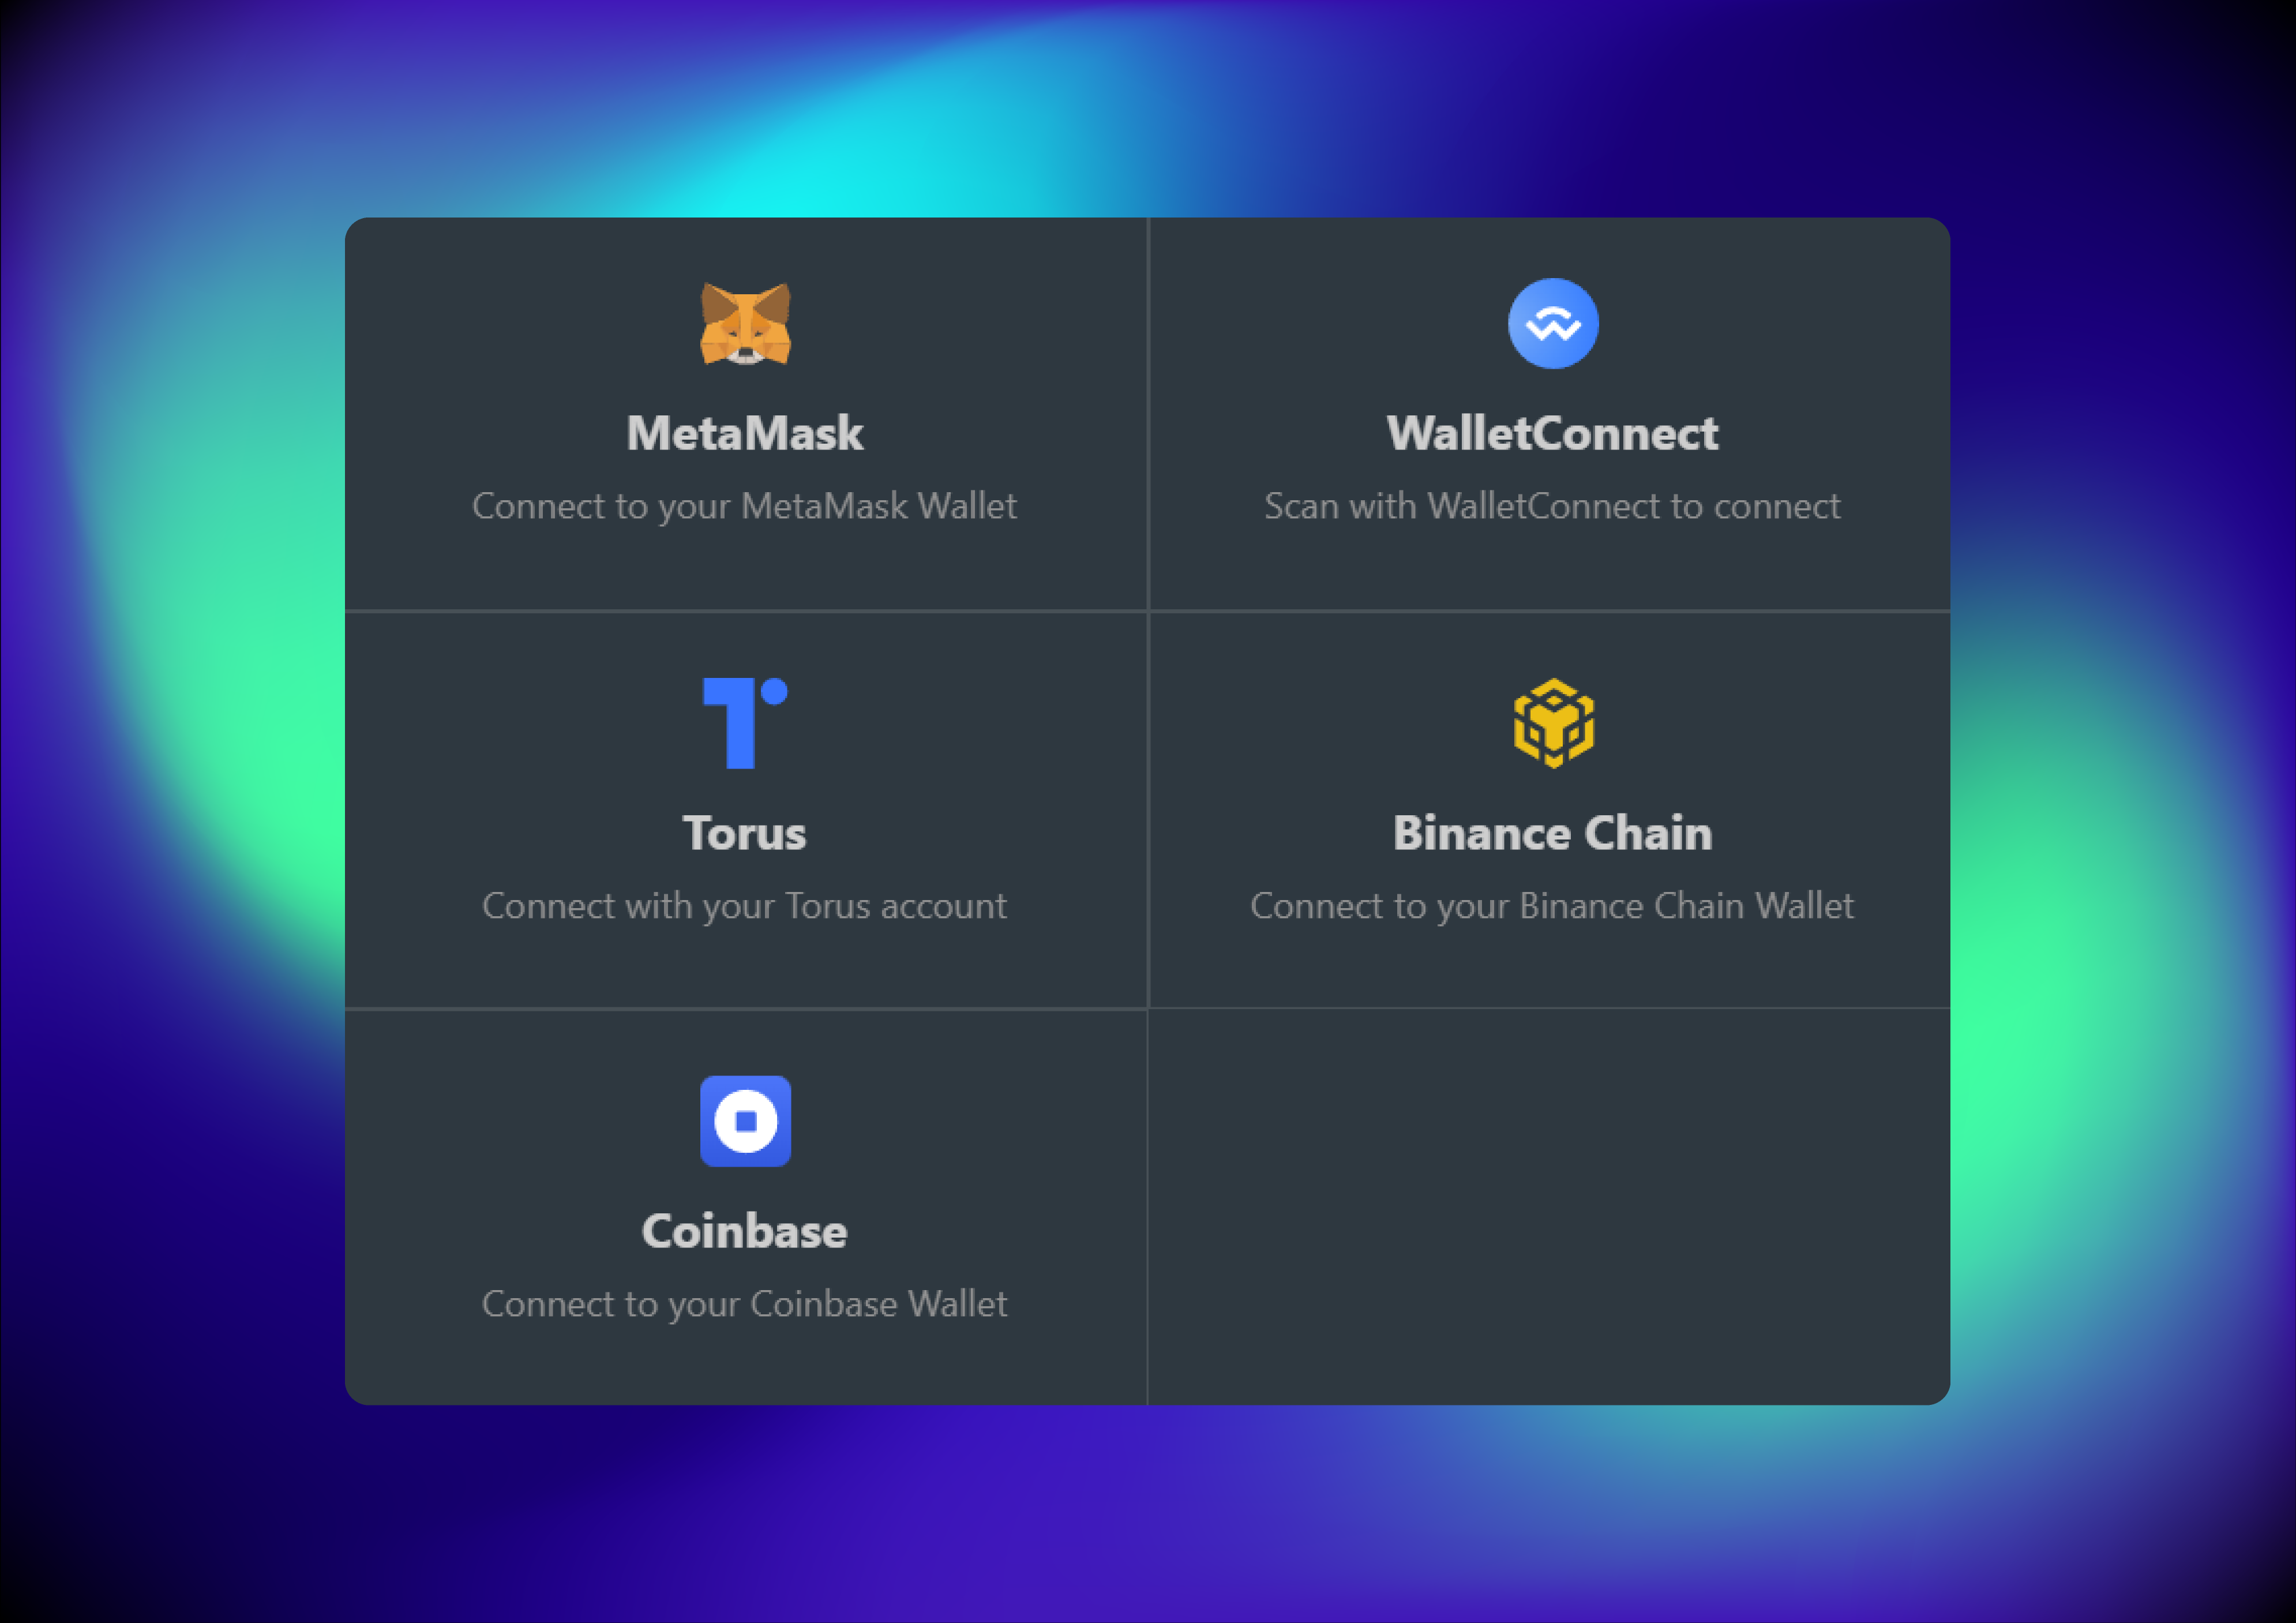
## 2. Select your type of wallet
Once you click on the Connect You Wallet button you will see an array of options that we accept for web3 wallet compatibility. Please choose the one that you have installed and ready to use.
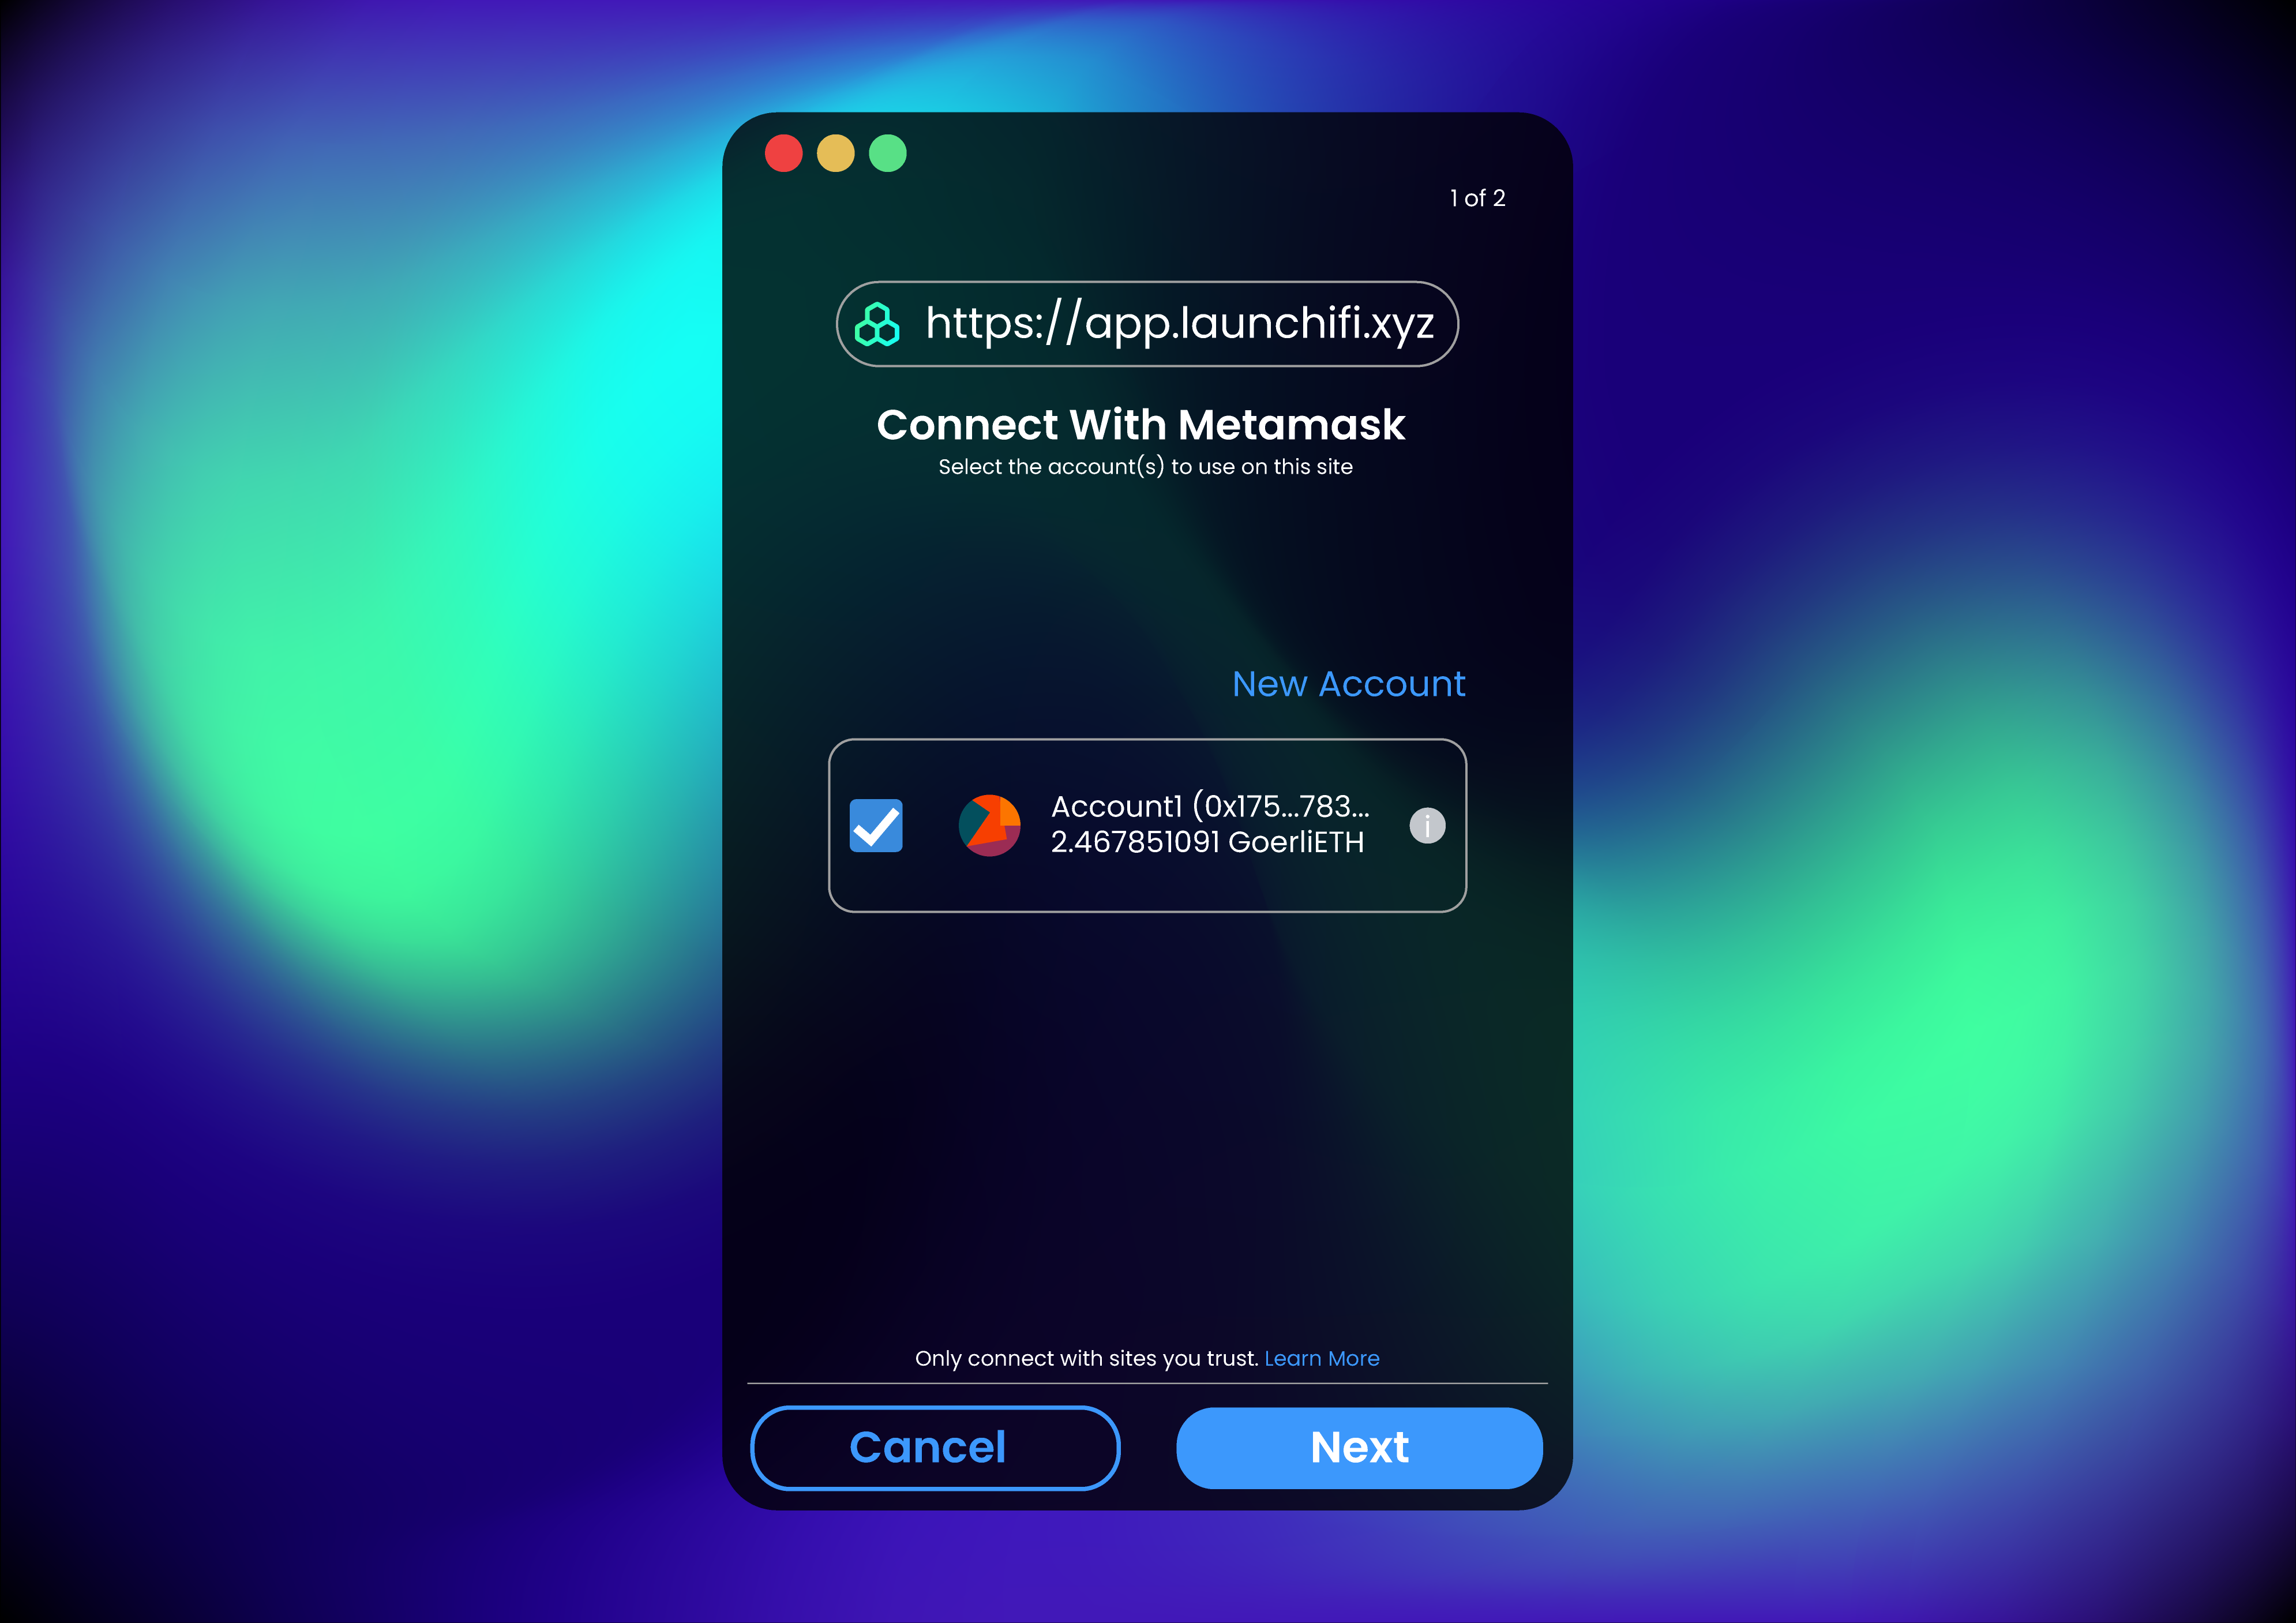
## 3. Accept the connection
Follow the prompts on your web3 wallet to accept the connection to our decentralized application.
*Please read all messages thoroughly and never sign anything with your wallet that you are unsure of.*
In the example above we used Metamask.
## 4. Your Connected
Congratualations! You are now connected to Launchifi with your web3 wallet and are ready to choose the network chain you would like the work on.